3D Printed Iron Man Bust

Article byRob Greer, CSWPupdated February 20, 2014
Article
On Saturday Nov.23 2013, Javelin attended the Ontario Professional Engineers Awards Gala (OPEA) held at the Toronto Congress Centre (http://www.ospe.on.ca/events/event_details.asp?id=357660). We realized that we needed something that would attract attention to our area where we would be displaying various 3D printed samples. After some thought, it was decided that we would create a 3D Printed Iron Man bust and paint it to look like the real deal. We managed to get essentially a surface model of the bust but it needed a bunch of work to make it something that could be printed. Thankfully, our co-worker Scott was up to the task and spent a few hours fixing up the model. Here it is:
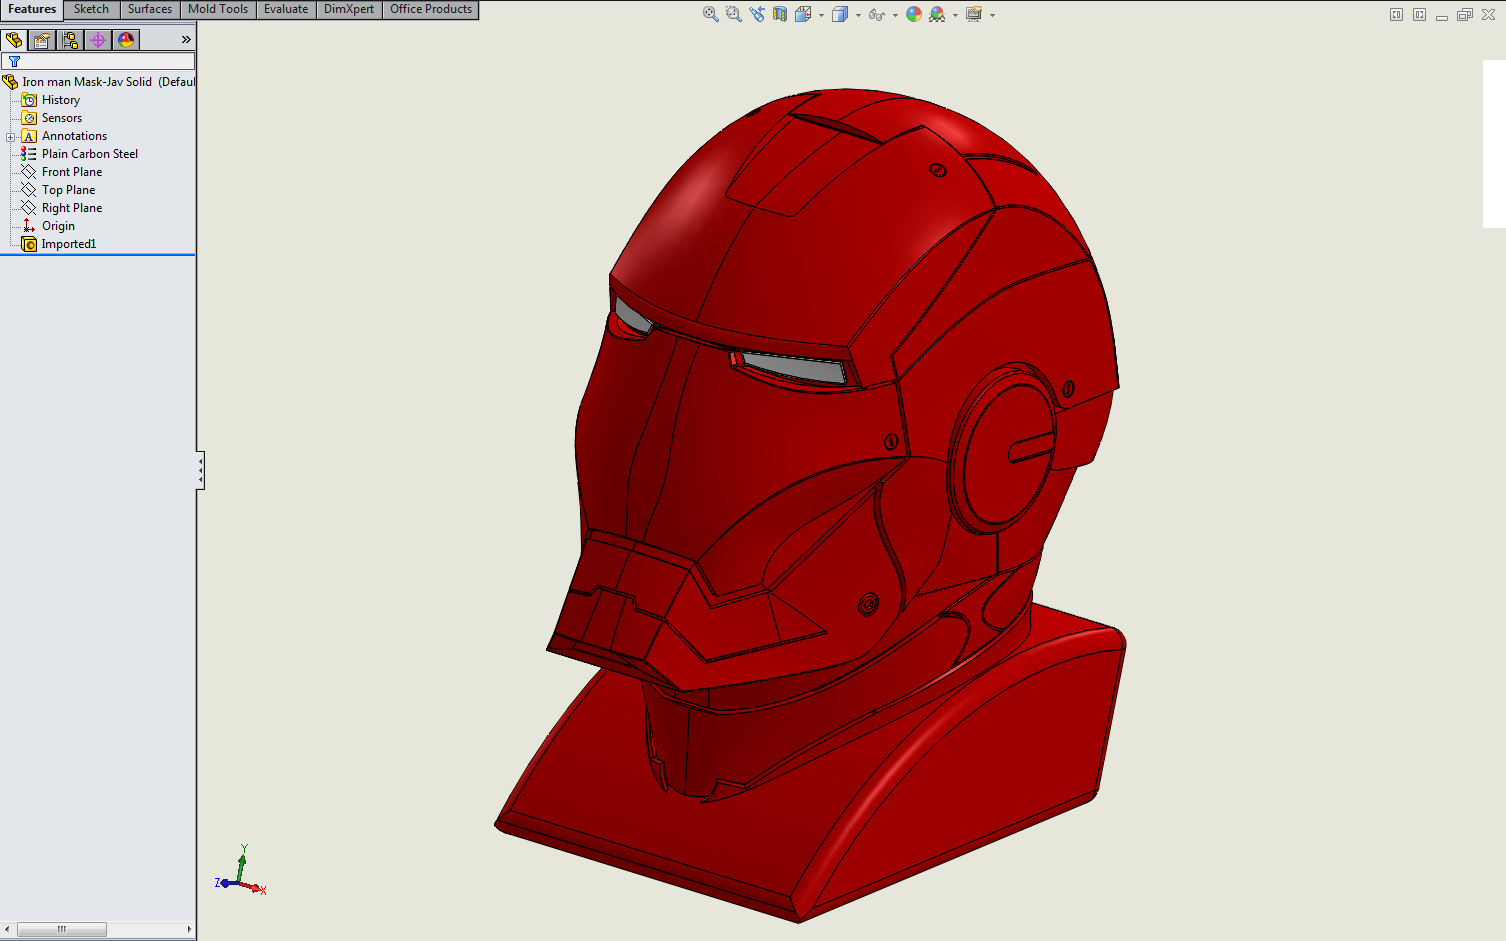
Iron Man in SolidWorks
First we printed the bust on ourStratasys Objet 500 Connex 3D Printer:

Bust on tray
It was printed in FullCure 810 VeroClear material and is about 200mm from base to top of head. I quickly cleaned the support material off of the bust and got to work sanding it. Sanding is needed with this model because we are painting it and wanted a smooth, flawless surface. I sanded it with 120 grit sandpaper to remove the printing “grain”. Next was a coat of primer. I purchased some automotive grade high-build primer, which is perfect for hiding any surface imperfections and also sands very easily. Here is a shot of it after the first coat of primer has been sanded:

Bust – one coat of primer
另一层底漆应用和fine grit sanding (300 to 600) and it was ready for paint:

泡沫- 2层底漆
Automotive paints work very well on 3D printed models. The first colour applied was the metallic gold:

Gold paint sprayed
This was very carefully masked off once dry to allow for the red metallic paint to be sprayed:

Red paint applied
Thankfully there were some great hard edges at the colour transition points, so that helped to make the masking easier.
Once the red paint hardened up a bit it was time to carefully unmask and reveal the finished work! Almost there…

Unmasking
Finally here it is complete with some black paint added in a few gaps to make it pop. The eyes are pieces of white pinstriping tape for a final touch!

Finished!
Related Links
Want to get started with 3D Printing?
Our 3D Printing resources can help you to: